




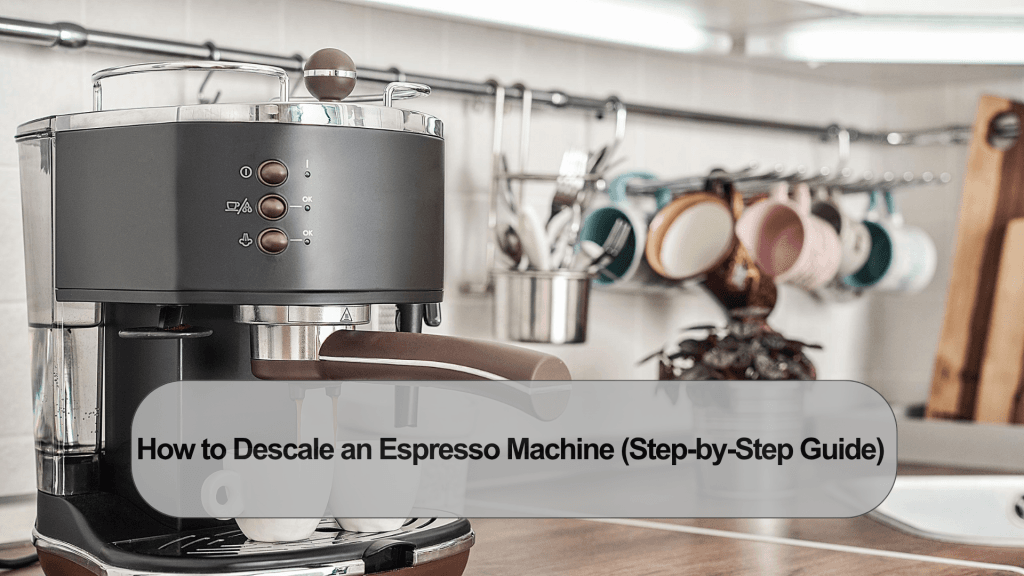
Much effort goes into producing delicious coffee through an espresso machine on a daily basis. Over time, some minerals may accumulate inside the espresso machine because of the water used. Such mineral buildup is termed “limescale” and may pose problems in the performance of the espresso machine and even affect the coffee.
Descaling of the espresso machine is very important for efficient operation of the machine. The process may vary from machine to machine depending on the type and manufacturer of the machine.
Why does the Espresso Machine Requires Descaling?
Minerals occur naturally in water. When water undergoes the process of brewing through the espresso machine, some of these minerals get trapped within the machine and finally form deposits.
Limescale causes;
- Restricts the flow of water
- It affects brewing temperature
- Causes coffee to take longer to brew.
- Increases pressure on internal parts of the vehicle
- It affects the taste of the beverage.
Descaling is different from cleaning. Cleaning involves removal of oils, milk traces and surface dirt, while Descaling is meant to remove mineral deposits.
What You Will Need
Please review the manufacturer’s instructions for your espresso machine before starting. The descaling product and process can vary depending on the model.
Typically, you need the following:
- A product recommended by the manufacturer to remove scale.
- Fresh water
- A large container to collect liquid
- A clean cloth
Step 1: Prepare the Machine
First, turn the machine on and let it cool if needed. Dispose of coffee grounds and empty the drip tray.
If the machine has a water filter, consult the manufacturer’s instructions prior to descaling—some machines need to remove the filter temporarily.
Set a large container under the coffee outlet and the steam wand or hot water spout, if available.
Step 2: Pour the Descaling Solution in the Tank
Follow the instructions on the product or in the machine manual for the proper proportions of descaling solution when mixing with water.
Feed the solution into the water tank. Never estimate the amount, as the correct dilution is critical in achieving safe and effective descaling.
Step 3: Start the Descaling Programme
You will find many espresso makers that feature a particular descaling programme. If your machine has a feature, turn it on in accordance with the manufacturer’s directions.
The machine can send the solution to various areas of the system, such as the coffee outlet and hot water function. This can take a while, so don’t turn off the machine unless directed to do so in the instructions.
If it does not run automatically, then be sure to adhere to the manufacturer’s process for doing it.
Step 4: Rinse the Machine
Following descaling, empty the machine of old water and rinse it thoroughly.
It is recommended that new water be added to the tank and the machine run through a rinse cycle. It is recommended to do this process twice if the machine is used to rinse out the descaling process.
Wipe down the outside of the machine and empty the drip tray.
Step 5: Make Descaling a Part of Regular Maintenance.
The frequency of descaling will depend on the hardness of the water, as well as the frequency of use for the machine.
Numerous machines alert you when descaling is necessary. Acting on these warnings and on the manufacturer’s set time schedule will help avoid an excessive build-up of lime.
Regular cleaning, rinsing and maintenance can also help to prolong the life of your espresso machine.
Conclusion
The one rule to follow is: always use the chemicals as the machine manufacturer directs and the appropriate descaling product.